Arctic Trip 冬季北极穿越装备计划
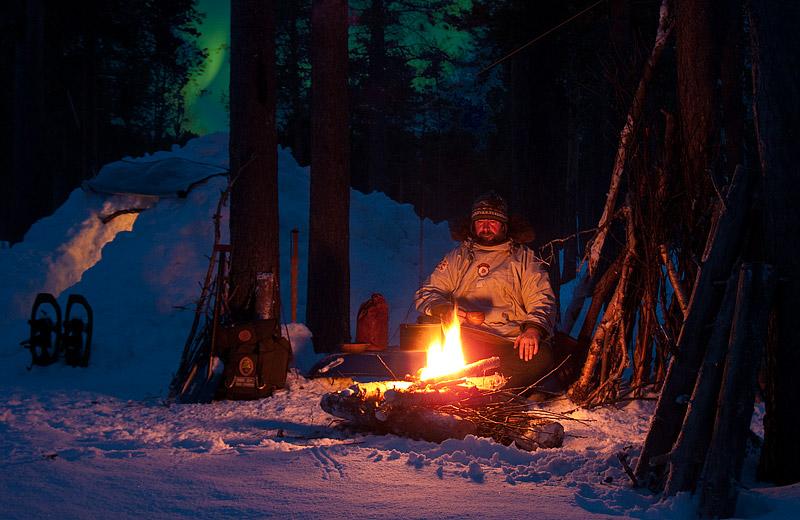
I have been fortunate with my work to visit Norway, particularly the North, on a number of occasions and for some time it has been my ambition to return in the winter months to get a real flavour of the Arctic. So when Bushcraft UK and Bushcraft Expeditions got together to offer anArctic Expedition and Course at a really good price I really couldn’t resist the opportunity.
![]()
![]()
It also gave me an excuse to improve on a couple of weak points in my gear and experiment with some new projects as well.
First off was the subject of boots.
There seems to be two main camps when it comes to Winter boots.
One camp suggests that a waterproof boot with insulated inner boots or multiple layered socks is the way to go, while the other camp suggests that Non waterproof breathable boots are better because sweat build up in the boots is the actually biggest problem and if it’s cold enough, the snow should remain frozen and therefore not wet the boots anyway.
There is wisdom in both arguments.
![]()
![]()
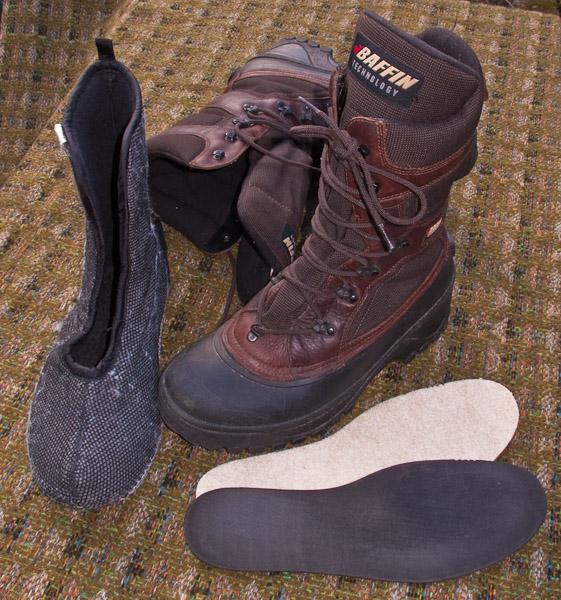
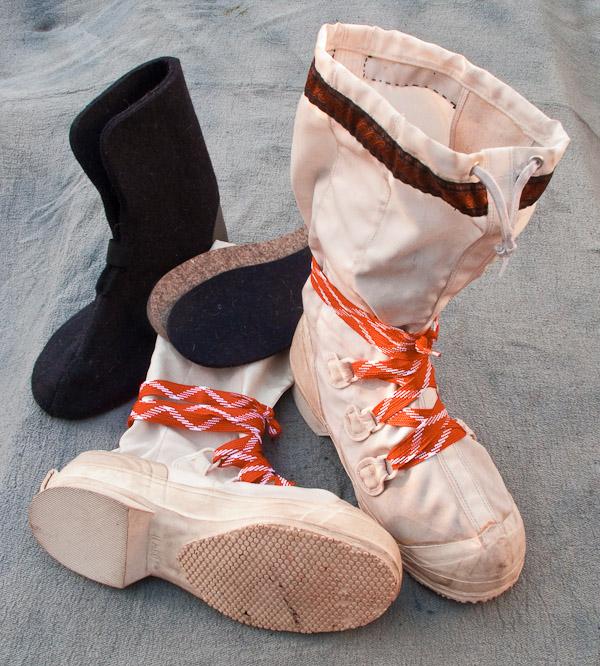
I must confess I cannot decide which of these solutions is the best but given the wet cold Winter condition I face most often in the UK, I opted first for Pac Boots which fall into the waterproof camp. What I now need to source is some spare liners but Baffin’s UK distributors have been about as useful as a chocolate tea pot so far.
I do intend however to make a pair of leather Mukluks before I go to try out the other option too, but perhaps more on that later.
![]()
![]()
What I am sure of is that as far as was safe and practical, I will try to avoid modern synthetic materials, as my dislike for them has been well documented elsewhere.
Several sources in particular pointed to a double skinned canvas anorak worn as a good shell against the wind and snow which would leave me my normal layering system of wool beneath.
I looked at the Sally Robbins pattern from the Conover’s excellent book “Snow Walker’s Companion” but slightly adapted mine by replacing one of the skins with Ventile and making the jacket reversible to better suit UK conditions.
The Fox fur ruff, designed to trap warm air around the face, is made from an old Victorian stole that I recycled. Real fur, because of it’s evolution, will naturally shed frost in a way that synthetic furs have yet to replicate.
The principle is that the anorak or parka is large enough to draw your arms back into the garment to adjust the layers underneath without exposing yourself to the wind. It can also be ventilated by just unhooking the belt and opening the neck gusset (as shown) to create a chimney effect where the warm air can rise out through the hood if you start to overheat.
![]()
![]()
It seems to be a very practical garment which I look forward to putting through it’s paces.
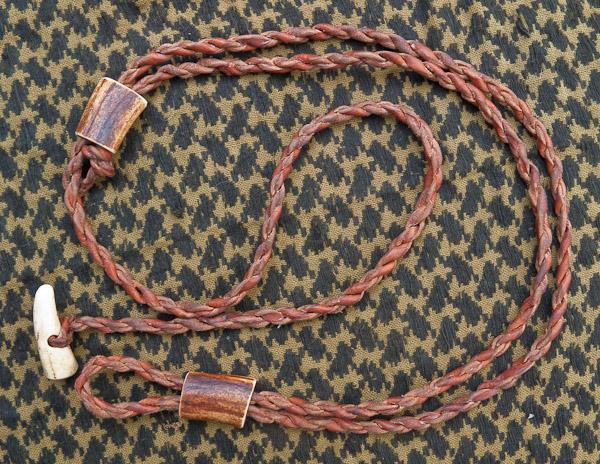
The belt I am using is an interesting design too.
It is based on a simple Saami belt and is fully adjustable by moving two slides along the cord but the whole thing can be released very quickly to allow for ventilation
This one is made from twisted reindeer hide with antler for the toggle and slides.
![]()
![]()
![]()
![]()
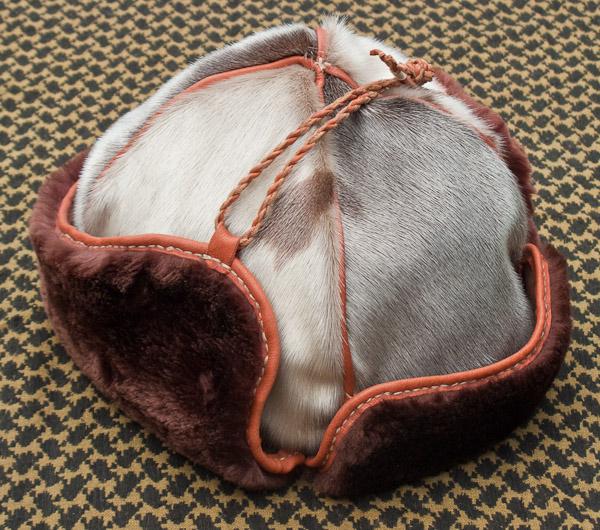
A huge amount of the body’s heat can be lost through the head so I have also made a Labrador Innu style cap called a Ne-suk. based upon a design in Ellsworth Jaeger’s book “Wildwood Wisdom”
I’ve fancied one of these for a while and this was an interesting project using materials mostly recycled from charity shop finds.
In use the side panels can be dropped down to form ear flaps and the cord then becomes a chin strap.
![]()
![]()
he main body of the cap is sheepskin and the pale fur is seal with the leather trim of reindeer. Once again the properties of natural fur have real advantages in Arctic conditions.Synthetic materials are certainly catching up in appearance and even to some degree in feel, but just like leather, real fur has been developed in the crucible of evolution over millions of years and is simply a lot better at what it does than anything made in a test tube so far.
Who knows what developments the future will bring, but where I am able to recycle some of these old pelts and make good practical use of them, I feel that shows far more respect to their original owners than just dumping them in a landfill.
![]()
![]()
![]()
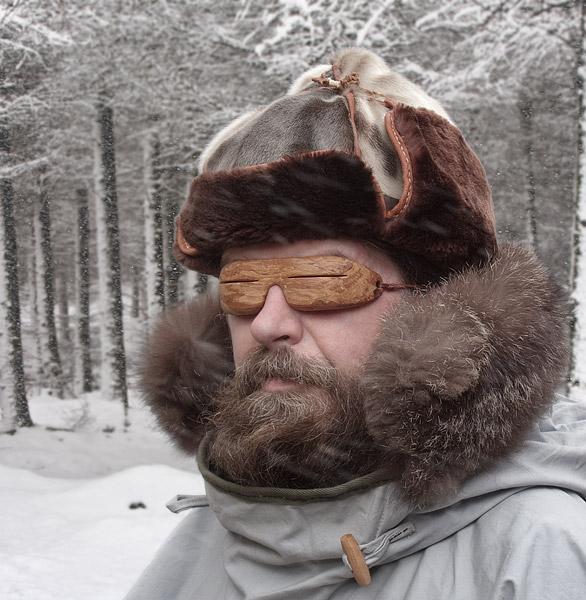
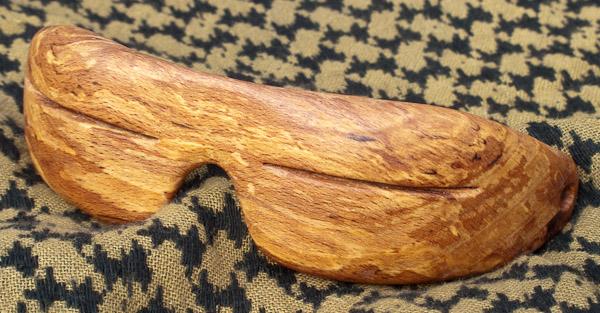
Now here is an old school solution to a problem that I’ll freely admit is not quite as functional as it’s modern equivalent. Snow Goggles.
These are based on an Inuit design and I really fancied whittling up a pair just to try them out.
To be fair they would certainly do the job, and quite well as far as I can tell.
![]()
![]()
They reduce the glare well and give a reasonable field of view horizontally, which would suit life on the ice. Where they fall down compared to modern glasses or goggles is the vertical field of vision which is rather limited and requires a lot of up and down head movement to compensate.
They are interesting though and similar ones could be improvised quickly out of birch bark in an emergency so as a project I think they have been well worth while but for this trip I will support these with a modern pair as well.
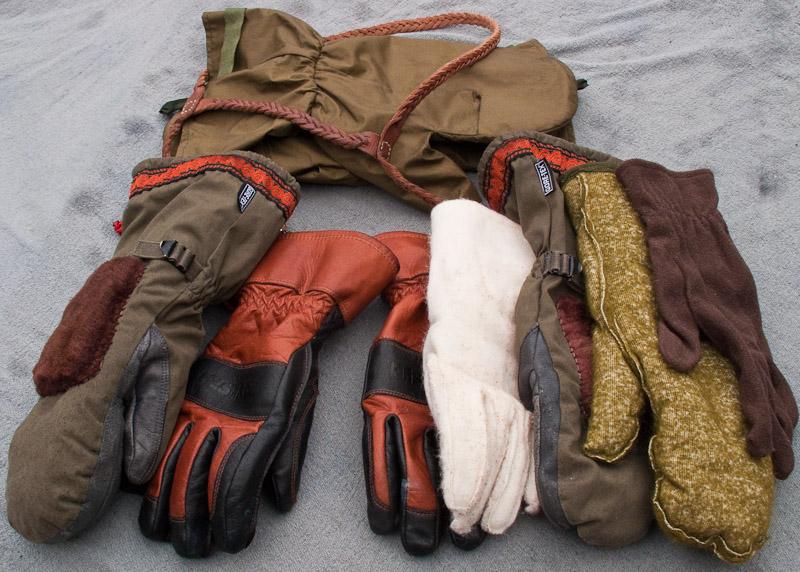
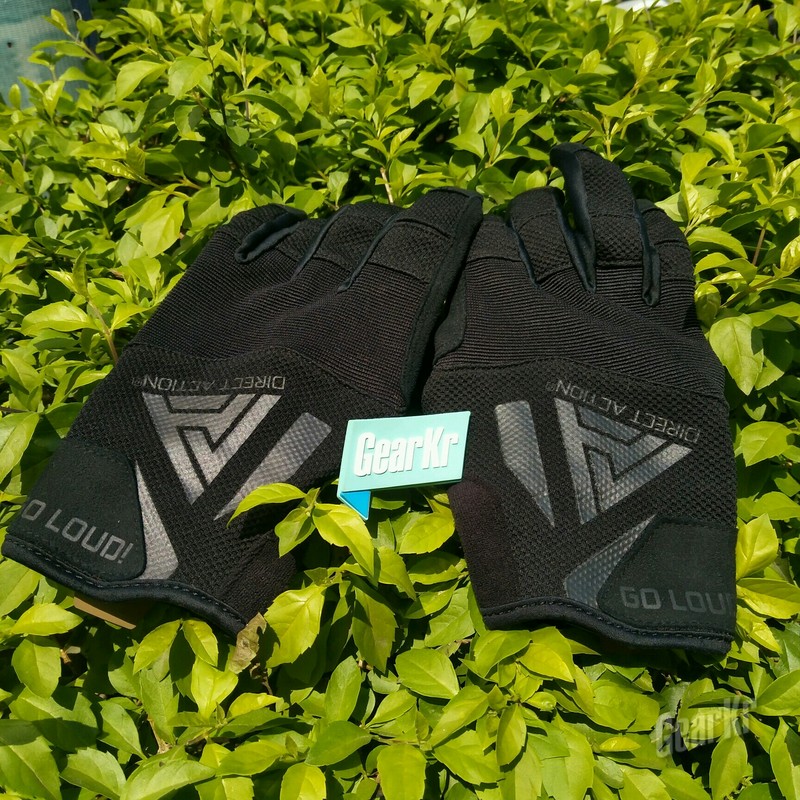
For my hands I am using some excellently made German cold weather over mitts on top of British army wool pile liners and a thin pair of poly fleece gloves as liners. In really extreme conditions I have a pair of waterproof British army mitt shells that will fit over the whole arrangement.
This allows me to remove the mittens but still keep the gloves on, which are fine enough to handle the controls of my camera but does not expose me directly to the elements.
For working around the camp I have a pair of leather gloves, again with removable wool liners.
The removable liners allow the gloves or mitts to be dried more easily by separating them and by carrying spare liners any wet insulation can be swapped out for dry liners if needed.
To reduce the risk of losing a glove or mitt, these will be attached to a leather yolk strap worn around my neck with elastic and small karabiners.
I have decorated the mitts, with the simple addition of a spare piece of patterned tape left over from an earlier project and added a sheepskin patch to the back of each mitt for too.
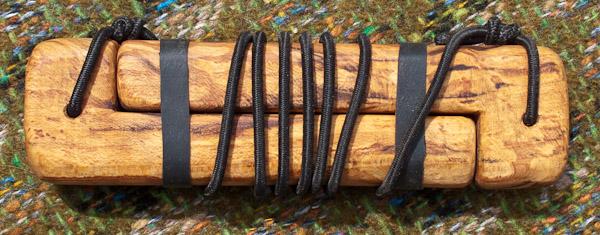
A snow shovel is of course a vital tool in hard Winter conditions and mine has the handy addition of a small saw, stored in the handle, but while researching Inuit artefacts I saw many pre-trading era snow knives made of ivory or whale bone.
![]()

![]()
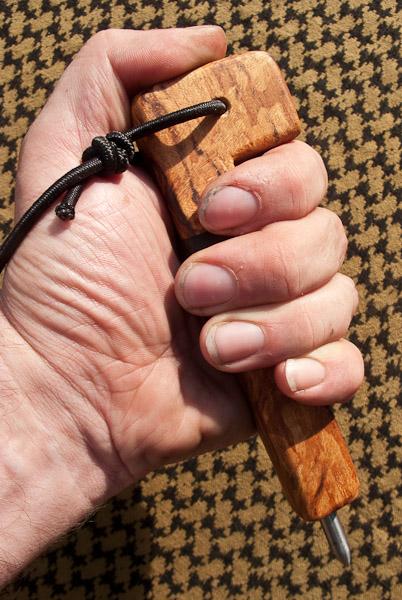
![]() Obviously I didn’t have those sorts of material to hand so I wondered if a good bit of seasoned oak would serve the same purpose. I was surprise that non of the originals that I had seen were toothed like a saw so I decided, since this was an experiment anyway, to try make it with a smooth edge and a saw edge to see which worked best.
Obviously I didn’t have those sorts of material to hand so I wondered if a good bit of seasoned oak would serve the same purpose. I was surprise that non of the originals that I had seen were toothed like a saw so I decided, since this was an experiment anyway, to try make it with a smooth edge and a saw edge to see which worked best.
The Snow Knife is considered one of the most important peices of equipment for an Inuk out in the wild. Amongst other things it is used for building snow shelters like the igluvijaq (most commonly referred to by outsiders as Igloo.) 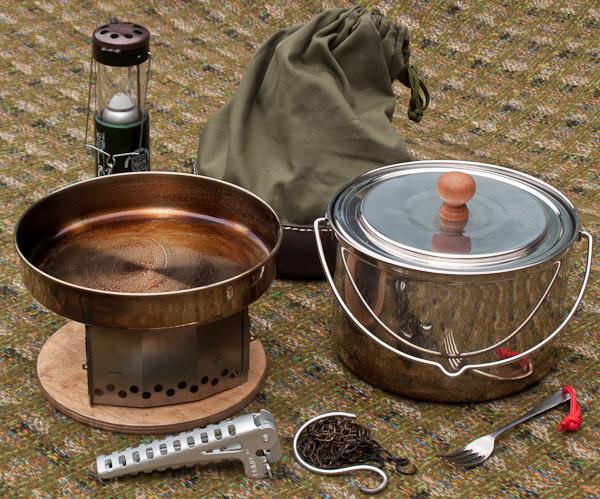
![]()
![]()
My Hobo Stove unfortunately is not going to be sufficient for melting large quantities of snow for drinking water, so I’ve invested in a new cook set.
The large wide billy should suit melting snow but what particularly attracted me to this set was the shallow pan with a composite aluminium base.
I must admit I like my proteins fried and most pans designed for back packing are simply too thin to serve properly as a frying pan. This is not a light weight pan but I’m prepared to put up with that for the sake of a good meal.
![]()
![]()
The plywood disk on the right has now been replaced by a lighter cork one and is to provide a solid base for my alcohol stove on the snow and the hook and chain in the front centre are for hanging the billy over a fire, which I hope will be my principle means of cooking.
![]()
![]()
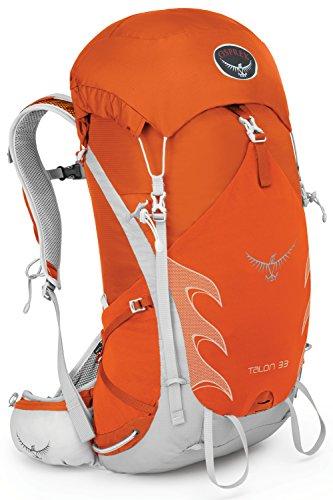
By now you may be wondering what I will be carrying all this kit in?
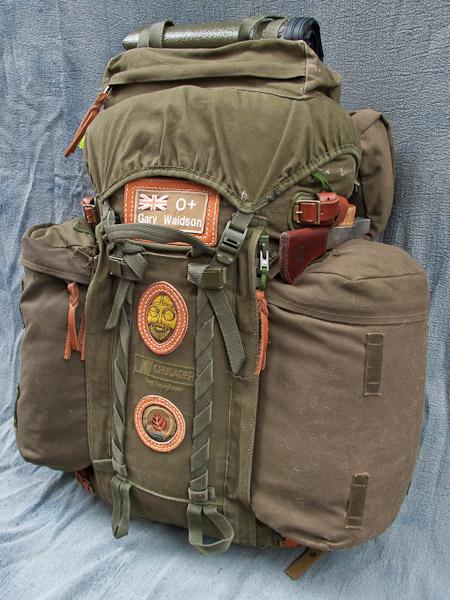
Sadly my trusty old canvas Cyclops Roc is just not big enough for the load I’m taking. Not due to weight but because of the bulk required.
Warm layers of extra clothing, two sleeping bags a bivi bag and a good sleeping mat fill the main part of my pack so side pockets, sadly lacking on my Roc, are needed for the rest.
Pure good fortune and a tip off from a friend led to me being able to purchase a rare old Crusader made of canvas instead of Cordura.
A quick modification of the zips allowed me to attach a couple of PLCE side pockets and here we are, ready to go.
You can see that my Tomahawk slides nicely between the side pocket and the pack and the snow knife fits well the other side too. The snow shovel will pack for flying and fit in the ice axe loops for carrying.
![]()
![]()
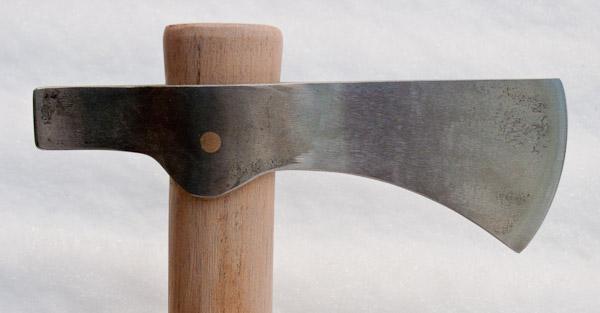
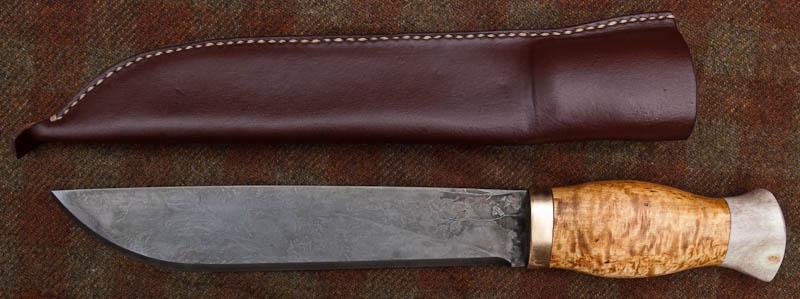
I must admit to being torn between my new Trail Hawk or my trusted Leuku on this trip.
Weight is going to be an issue when it comes to flights so I really have to make a choice.
In many ways the Leuku is designed for just this type of environment but the Hawk has proved it’s worth as well.
![]()
![]()
![]()
Time will tell on that one, but something that is definitely finding it’s way into my pack is a pair of ice claws.
Like most sensible Brits, the idea of walking out onto a frozen lake to do a bit of fishing is not a matter that I take lightly.
The thought behind ice claws is that should you fall through the ice they provide you with sharp points that can dig into the ice surface to help you pull yourself back out. A potential life saver.
The lanyard allows you to hang them around your neck, with the points safely tucked away, and is elastic so that it does not present a strangling hazard but can still be used at full arms length to reach a good hold.
Of course, no safety equipment replaces simple caution and in some cases there may be too much snow on the surface for these to be effective, but any sensible precautions taken against such a dangerous incident is well worth taking.
![]()
![]()
Well that’s the interesting stuff so far. I’ll keep you posted as new stuff turns up.
Of course I’ll also let you know how the trip goes and hopefully share lots of pictures if I can keep the cameras running in the cold.
![]()
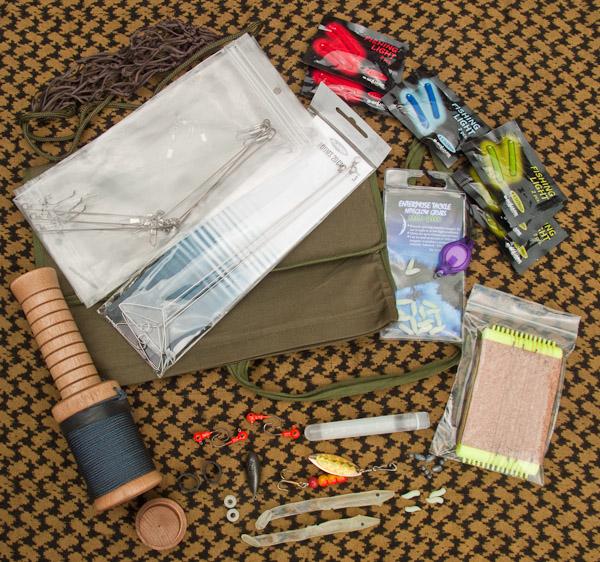
As for the fishing kit itself, here I needed advice and many thanks to the members ofBushcraft USA for their help and suggestions for assembling this kit.
The one piece of advice that came through consistently was that it is dark under the ice, especially if it is also covered with snow so anything that glows in the dark is useful for attracting the attention of fish.
With this in mind I have gone for a number of luminous jig tails and artificial baits and also a few small snap lights although I’m not sure how well they’ll work at low temperatures.
![]()
![]()
Along with the usual collection of weights, leaders and hooks I’ve also included a few speed hooks for setting out at night, a hobo reel of strong fishing line and a net bag to use with a stone for a sinker.
I’ll let you know what works and what doesn’t when I get back.![]()

![]()
![]()
Most sources stress the importance of a snow brush when passing from a cold to a heated environment. Snow and ice left on clothing can melt and soak into your clothing layers requiring extra drying time or even leaving you vulnerable to cold when you return outside.
Although normally seen as a utilitarian piece of equipment I tend to think life is too short for ugly kit. When I am out enjoying myself I want to be surrounded by equipment that is a pleasure for hand and eye. It’s just the way I’m wired.
So when I decided to use this long handled brush I couldn’t help thinking a little bit of kolrosingwould look nice on all that light wood. Patterns based upon old Norse and Saami artwork seemed appropriate for this.
I also re-profiled the handle tip for scraping and put a bright lanyard with a luminous tip on to aid finding it when needed.

I haven’t decided yet whether to take a pulk over with me or make one over there from a cheap sledge. The latter option seems wasteful to me but it may be significantly cheaper to do that and leave it over there than to fly one out from the UK.
Never the less, I decided to build one for use over here at least and my starting point was a Snowsled Ice Blue pulk shell.
To secure the load I added a series of loops around the edge with cargo duty parachute cord sheathed in PVC tubing from an irrigation system. The loops are big enough to grab with mittened hands and the baggage is then wrapped, burrito style, with a plastic tarp and tied down with waterproof shockcords.
The hauling ropes are connected to aluminium brackets via loops of bungee cord that act as shock absorbers and this will attach to a tump / shoulder strap rather than a harness for convenience.
All in all, a simple but efficient system should I need it.
<<0>>
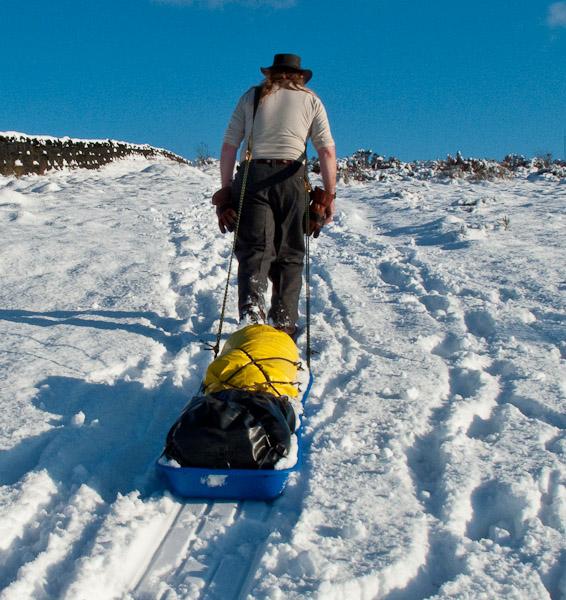
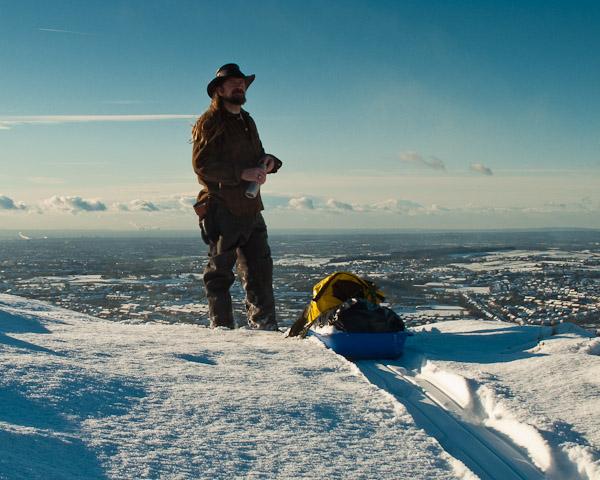
Well, we had a bit of snow for the first time this week and I had the chance to try out a few bits.
It wasn’t all that cold really so for most of the time that I was hauling the pulk I was stripped down to my base layer top but I decided to try the Pac boots to see what sort of moisture problems might occur.
![]()
![]()
Having replaced the synthetic liners with some good quality felt liners from a company over the pond I was very pleased with the results. Even in these relatively warm conditions my feet remained dry from inside and out.![]()
![]()
![]()
As mentioned above, one of the greatest challenges working in the cold is not just keeping warm but keeping dry.
Too much clothing can result in perspiration problems that are just as dangerous as getting your clothing wet from external sources.
Regulating body temperature while working or resting by adjusting clothing layers is of vital importance in extreme cold and I hope that some of these test runs will help me to refine my layer system before committing myself to the kit that I take out with me.
![]()
![]()
I have also obtained a pair of Canadian army Mukluks which I’ve also tarted up a little bit.
Unlike the Pac boots these are in no way waterproof, trading that for increased breathability in lower temperatures. They should serve much better in temperatures of -10° or below and for the tricky “wet” and slushy cold temperatures of +5°c to -10°c then I can change over to the Pac boots.
Having dispensed with the synthetic liners that Baffin supply (Thanks to the UK distributors for their complete lack of help and service.) and replaced them with far superior and cheaper wool felt, it now means that both types of boot share the same liners and insoles, which will also help considerably with logistics.
(原文来自:http://www.ravenlore.co.uk/html/arctic_trip_2012.html)
- 点燃激情,释放光亮!——Fenix菲尼克斯HP30R V2.0分体式头灯体验
- 发布于 02月21日
- True utility Fixr飞鲨 20合1口袋工具
- 发布于 10月13日
- 外形小巧时尚:CRKT Zilla组合工具
- 发布于 08月04日
- EDELRID ZAP-O-MAT 下降器/保护器测评报告
- 发布于 12月01日






评论已关闭。